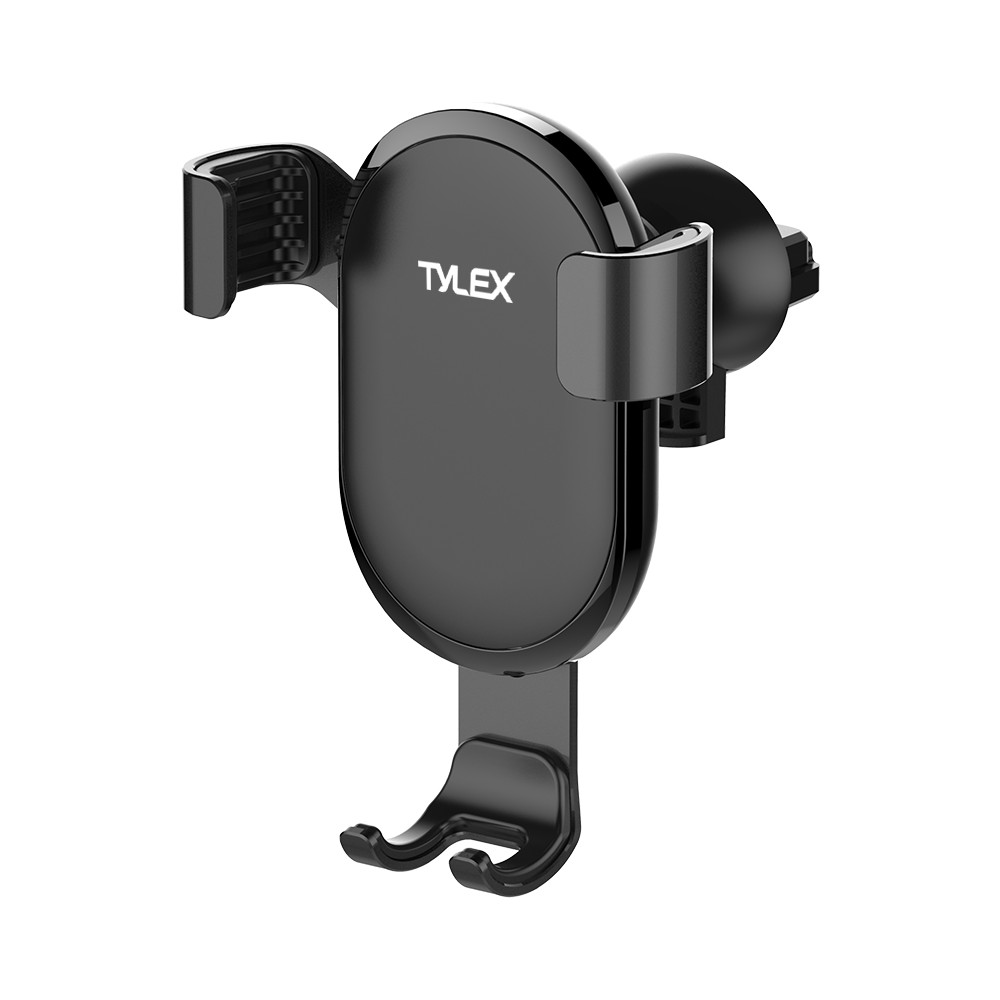
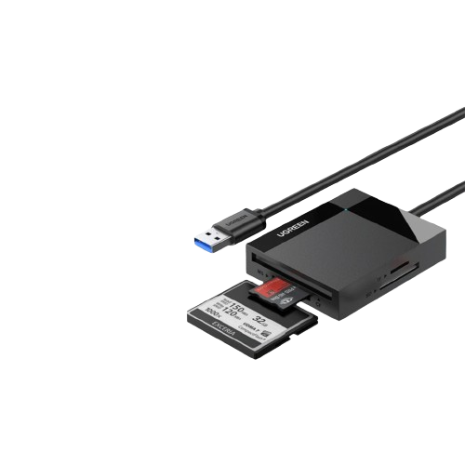
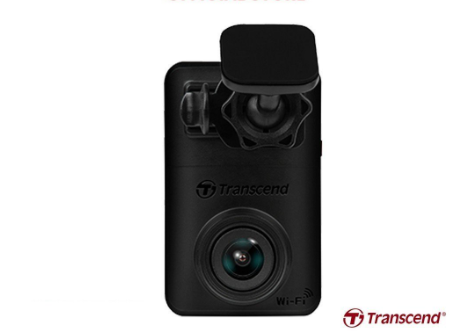
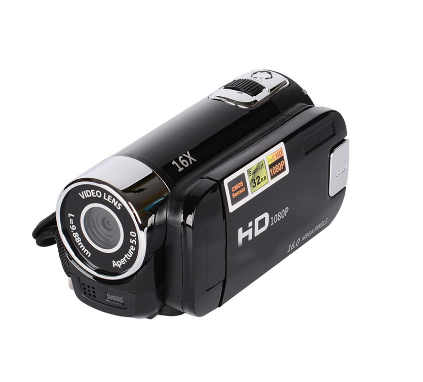
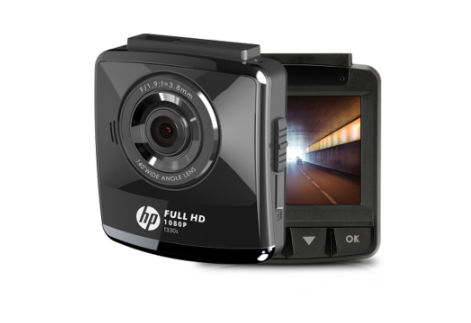
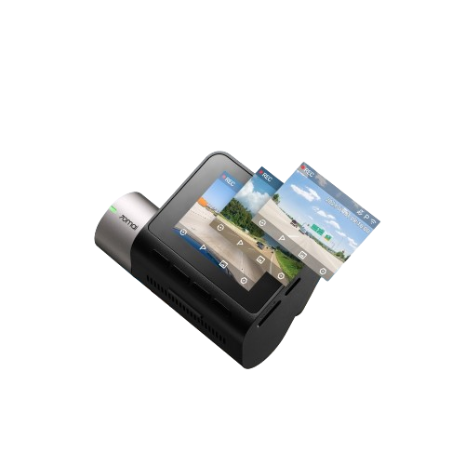
70mai M500 Dashcam | Built-in GPS | eMMC Built-in Storage up to 128GB with 24hrs Surveillance
(0 Reviews)
In stock
Price:
₱7,189.00 - ₱7,739.00
Refund:
Share:
Sold By
Kenny CE Shop
125 Durian Park, Old Domestic Road, 191 Zone 20, Pasay City, Philippines
(0 customer reviews)
Top Selling Products
Related Products
₱1,751.00
New 2 Colors 2.7 Inch TFT LCD HD 1080P Digital Camera Camcorder Practical CEGY
Lahat Point:
0
₱4,477.00
Lenovo HR06F PRO 3 Inch 4K Dual Lens Dash Cam Mini Night Vision Hidden Wireless WIFI 24H Loop Record
Lahat Point:
0
₱1,698.00
2 inch TFT Display 16 Million Pixels Video Camcorder HD Handheld Digital Camera
Lahat Point:
0
₱9,059.00
70mai A510-1 Dashcam Set | 140 Wide Angle FOV | Starvis 2 | 4G Connectivity | 1944P HDR | ADAS
Lahat Point:
0
₱3,637.00
M27 2K Full HD Dual Channel Front and Rear Dash Cam Night Vision Built-in GPS Dash Cam
Lahat Point:
0
₱2,249.00
Toy Camera 2.2 Inch LCD Screen Video Recorder Kids Camera Digital Camera Rechargeable
Lahat Point:
0
"Lahat Dito Philippines" is a free multi-vendor e-commerce platform, providing a wide variety of physical and digital products online for the Filipino people. Supporting local businesses and resellers nationwide. Our mission is to create a safe platform for sellers and provide a flexible and convenient shopping experience for customers. Together with our commitment and your support, we will be able to grow and keep this platform to promote local businesses. #shoplocal #supportlocal #lahatditoph #kliktayodito
Contact Info
- Address: 125 Durian Park, Old Domestic Road, 191 Zone 20, Pasay City, Philippines
- Phone:
- Email: [email protected]


